Chapter 5. Configure Mail Clients (with IMAP and POP3)
5.1. Client configuration
Every client supporting IMAP4 or POP3 should be able to connect to Zarafa via the Zarafa IMAP & POP3 gateway.
For sending mail clients will use SMTP. The SMTP server can be the same as the Zarafa server or the SMTP server of the internet provider. Some servers need SMTP authentication. The client can store sent messages in a Sent Items folder.
SMTP credentials are not necessarily the same as the Zarafa credentials.
5.1.1. Mozilla Thunderbird
This manual is based on Mozilla Thunderbird version 2. Other versions can be set up in a similar way.
The first two steps can be skipped when opening Thunderbird for the first time. The following example is for the IMAP protocol. The POP3 protocol is practically the same without steps 10 to 12.
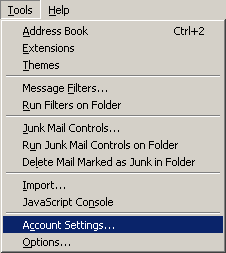
Go to Tools > Account settings….
Click Add Account.
Select Email account and click Next.
Fill in your name and Zarafa email address and click Next.
Select IMAP and fill in the Zarafa server’s hostname or IP address. Click Next.
Fill in the Zarafa username for the Incoming username and the outgoing username. Click Next.
The account name can be chosen by the user itself. Click Next.
Check the data and click Finish. Now close the Account Settings window.
Open the Inbox and type in your password to receive the folder structure from the Zarafa server.
Re-open the Account Settings window and select the Server Settings in the previously created account.
Set the security to the desired level (default is Never).
Select Copies & Folders in the account tree and set the correct foldernames for the IMAP server.
Finally, click OK and start using Zarafa with the IMAP protocol.
This example is based on Windows Mail. Outlook Express can be configured in a similar way.
The following example is for the IMAP protocol. Setting up the POP3 protocol is practically the same; skip steps 10 to 12.
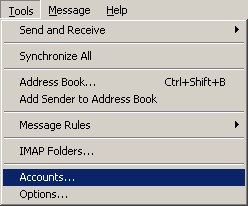
Go to Tools > Accounts.
Click Add….
Select Email Account and click Next.
Enter the Display Name and click Next.
Enter the Email Address and click Next.
Select IMAP from the dropdown menu, fill in the Zarafa server’s hostname or IP address and the hostname or IP address of the outgoing mailserver.
Optional: check whether the outgoing server needs authentication and click Next.
Fill in the Zarafa username in Email Username and the Zarafa password. Click Next.
(Un)tick whether the user wants to download the data from the server right away and click Finish.
Highlight the new account in the folder list and click Properties in the context menu (open by a right-click on it).
Select the IMAP tab.
Check whether the Special Folders is ticked and the folders are set the same as the Zarafa folders.
Finally, click OK and start using Zarafa with the IMAP protocol.