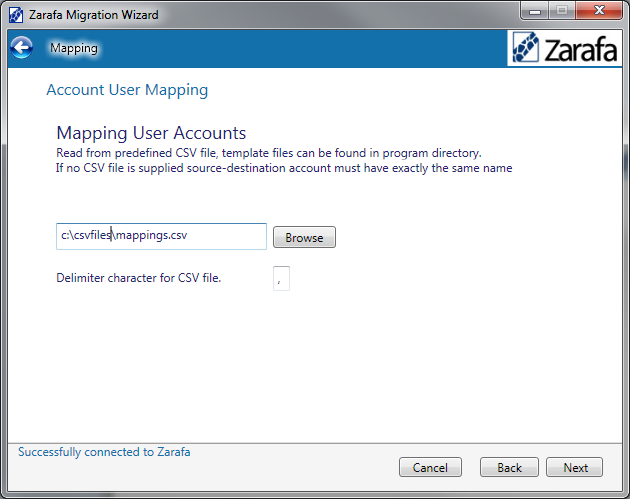
2.5. Account User Mapping
If no .csv file is supplied a match on all names in data-source and data-destination will be done.
If the .csv coupling is used, a comma separated value file needs to be specified. The .csv file should contain at least 2 columns: destination-user and filename. It is important that these 2 columns are defined with a column head on the first line of the .csv file. The column heads indicate in what order the data is presented in the rest of the file. Column heads are case sensitive. Any extra columns will be ignored. Do not include any spaces between column heads. Template files for each migration file can be found in migration tool program directory.
To find out the correct user store string for the user to be migrated, log into the MS Exchange server using an admin account. Four alternatives exist to find the info:
Using CSVDE:
This is the easiest method, it allows to completely export all users into a CSV for use with the Zarafa migrator. Open a command prompt and run the following command:
csvde -f C:\zarafa-migrator.csv -d "OU=ExchangeUsers,DC=myserver,DC=local" -r objectCategory=user -l "legacyExchangeDN,sAMAccountname"
Example export:
DN,sAMAccountName,legacyExchangeDN
"CN=John Doe,OU=ExchangeUsers,DC=myserver,DC=local",johndoe,/o=TESTER/ou=first administrative group/cn=Recipients/cn=johndoe
Now simply open it up in an editor and remove the DN column. After this change the columns to this order: legacyExchangeDN,sAMAccountname. This way it can be used with the migrator tool. Switch explanation: -f path to save the csv, -d folder from which to export users, -r object type, -l properties to export. If desired switch sAMAccountname for mail to use the email as the username for the users.
Using Adsiedit:
Open Adsiedit on the Windows server, right click on ADSI Edit and choose Connect to… now choose Default naming context in the second drop down box and click Ok. Once connected expand the Default naming context container until finding the container in which the users reside. Right click on the user and choose Properties, scroll through the list until legacyExchangeDN is shown. Double click the entry and copy the value. This value can then be used in the CSV file.
Using Outlook:
Open the address book and find the user to be migrated. In the main address book view you find the store address in the field E-mail Address. Replace the line in the template file /o=TESTER/ou=first administrative group/cn=Recipients/cn=exchangeUser1 with the information found for the user.
Using Outlook Spy (Outlook add-in):
Click IAddrBook/GetDefaultDir/GetContentsTable, then double-click on the user find the property “+PR_EMAIL_ADDRESS+”, double-click it and copy the value. Users in the same exchange server are usually prefixed with the same default, so usually it is enough to find it out only once and then only change the last cn part.
When finished click Next.
The mapping will be initialized and if successful the next page will be shown.