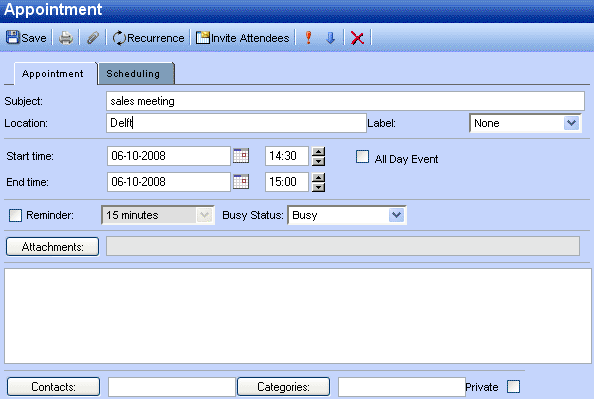
Insert a subject for the appointment, and optinally a location.
Select a start and end time for the appointment.
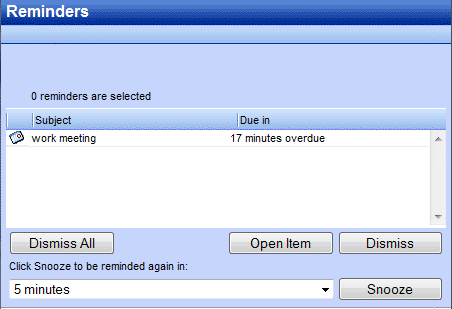
Optional: Enable the reminder option, this will trigger a reminder pop-up (see: Figuur 2.27, “Reminder dialog”) before the appointment starts. The time interval between the reminder and the appointment is adjustable in the field next to the reminder option. When it is time for the reminder to pop-up, the Zarafa WebAccess shows a list of these reminders with buttons to Open the item, Dismiss the item, Dismiss All items or to Snooze the reminders by a given time.
Opmerking
Pop-ups need to be allowed by the browser to see reminder pop-ups. Often this needs the domain name of the Zarafa WebAccess to be whitelisted for pop-ups in the browser.
Figuur 2.27. Reminder dialog
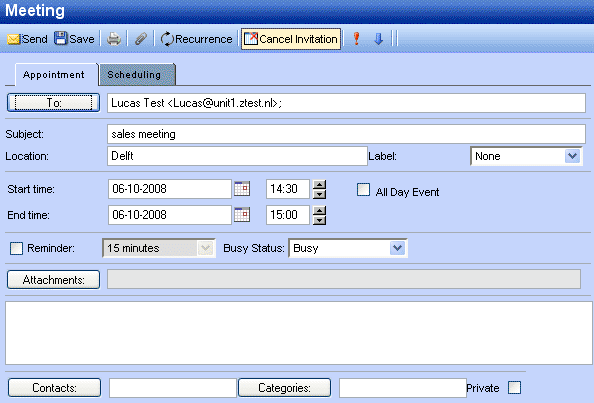
Using the button Invite Attendees one can send a meeting request as shown in Figuur 2.28, “Meeting request”. To add attendees, simply add their email addresses. The email addresses need to be separated by a semicolon. By clicking the To: button contacts can be selected from the Address Book. The attendee will receive a meeting request which the attendee can Accept, accept as Tentative or Decline, alternatively the attendee can also Propose New Time for that request.
Figuur 2.28. Meeting request
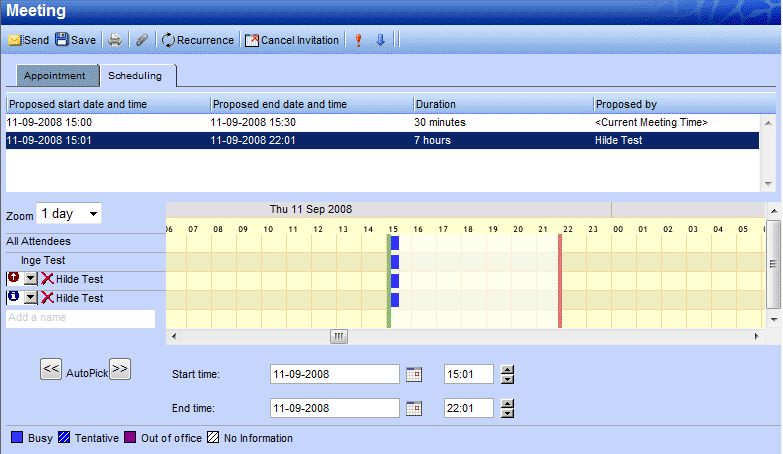
By opening the tab Scheduling, the free/busy times for multiple people are shown (see: Figuur 2.29, “Scheduling/FreeBusy”). On this tab colleagues can be invited (Add a name); an overview is showing exactly when a specific person is busy, out of the office, or available. If an attendee has proposed a new date or time for a meeting, the proposals are shown on the Scheduling tab as well.
Figuur 2.29. Scheduling/FreeBusy
Figuur 2.30. Meeting request
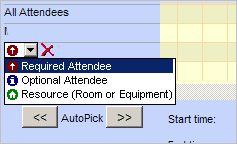
Colleagues can be added via the Add a name field.
Attendees can be marked either as “required” or as “optional”. It is also possible to schedule a resource — like a room or a piece of equipment — needed for that meeting.
Opmerking
Resources have to be created by the administrator.
In the Tracking tab a list with all attendees for this appointment, with their responses, can be found.
Figuur 2.31. Tracking tab
2.5.2. Accept a meeting invitation
If someone invites you for a meeting, you will receive meeting invitation. At the top of the invitation a bar containing the buttons Accept, Tentative, Decline and Propose New Time is shown for sending a response to the owner of the appointment. See Figuur 2.32, “Meeting invitation buttons”.
Figuur 2.32. Meeting invitation buttons
By clicking Propose New Time a user can propose a new date or time to the owner. The owner, upon receiving the proposal, can either accept it or decline it.